
What makes a good source photo
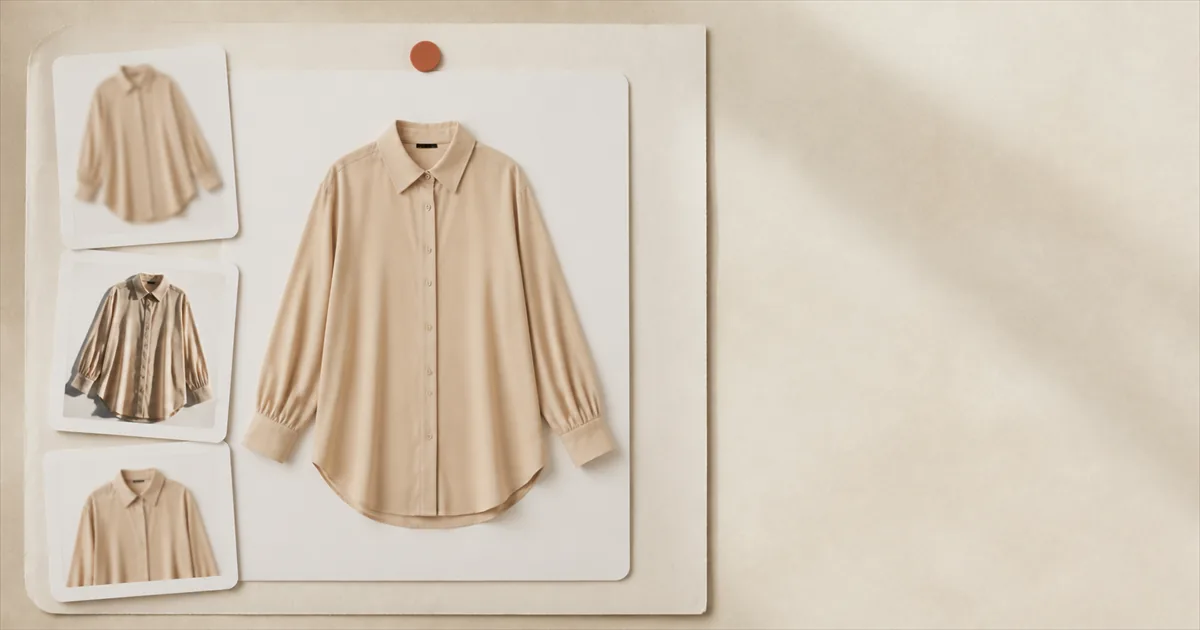
Two merchants generate a video of the same style of shirt on the same day. One gets something they publish that afternoon. The other gets a shirt with three buttons where there should be five and a collar that is not quite the collar they sell, decides the technology is not there yet, and closes the tab.
Nine times out of ten the difference is not the prompt, the model or the settings. It is the photograph they started from. That is true of every tool in this category, including AI fashion model video generated with Videlia.
The rule everything else follows from
A generative model cannot recover information that is not in the image. It can only reproduce what it can see, and where it cannot see, it invents something plausible.
That single sentence explains almost every disappointing result. A sleeve folded under the garment comes back as a sleeve the model guessed at. A hem cut off by the crop comes back at whatever length looks right. A button placket lost in shadow comes back with the wrong button count, because the model has seen a great many shirts and is filling the gap with an average of them.
So the job of choosing a source photo is not really about quality in the photographic sense. It is about coverage: how much of the garment the image actually states, rather than implies.
Show the whole garment, edge to edge
The most common failure is the most avoidable. Nothing should be cropped, tucked, folded under, or covered by a prop. If the cuffs are hidden behind a fold, the generated cuffs are a guess. If the hem runs off the bottom of the frame, the generated length is a guess.
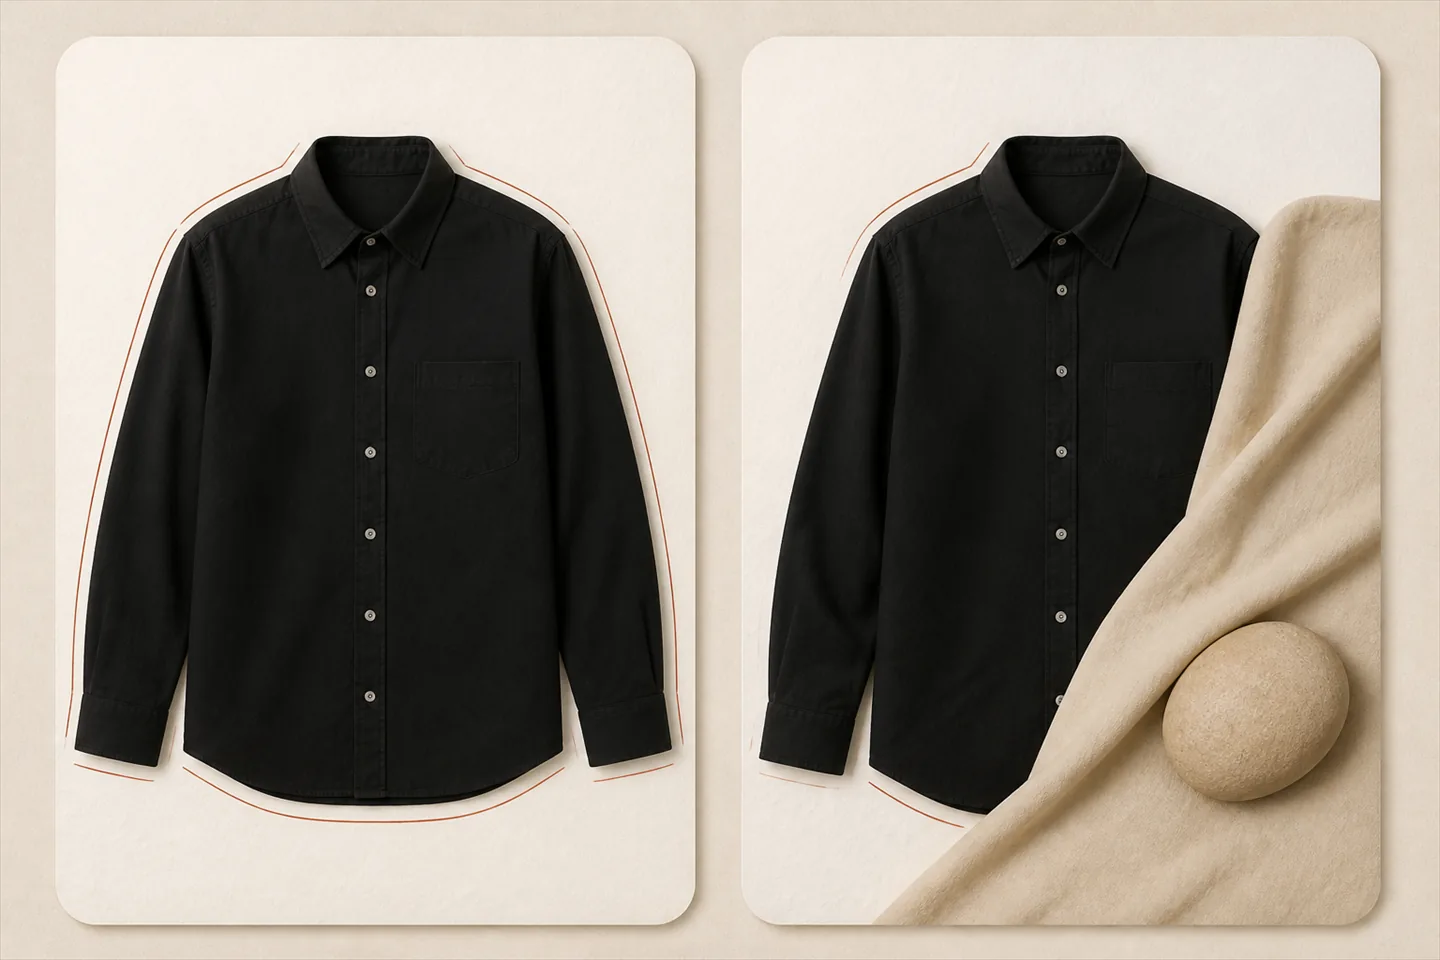
Dark garments deserve a second look here. A black shirt on a dark or busy background can be technically complete and still unreadable, because the edge between garment and background carries no contrast. Photograph dark pieces against something pale, and pale pieces against something with a little more tone than they have.
Quiet background, quiet styling
Lifestyle flat lays are lovely on an Instagram grid and awkward as source material. Ceramics, dried grasses, folded linen and hard prop shadows all give the model things to interpret, and some of them end up interpreted onto the garment.
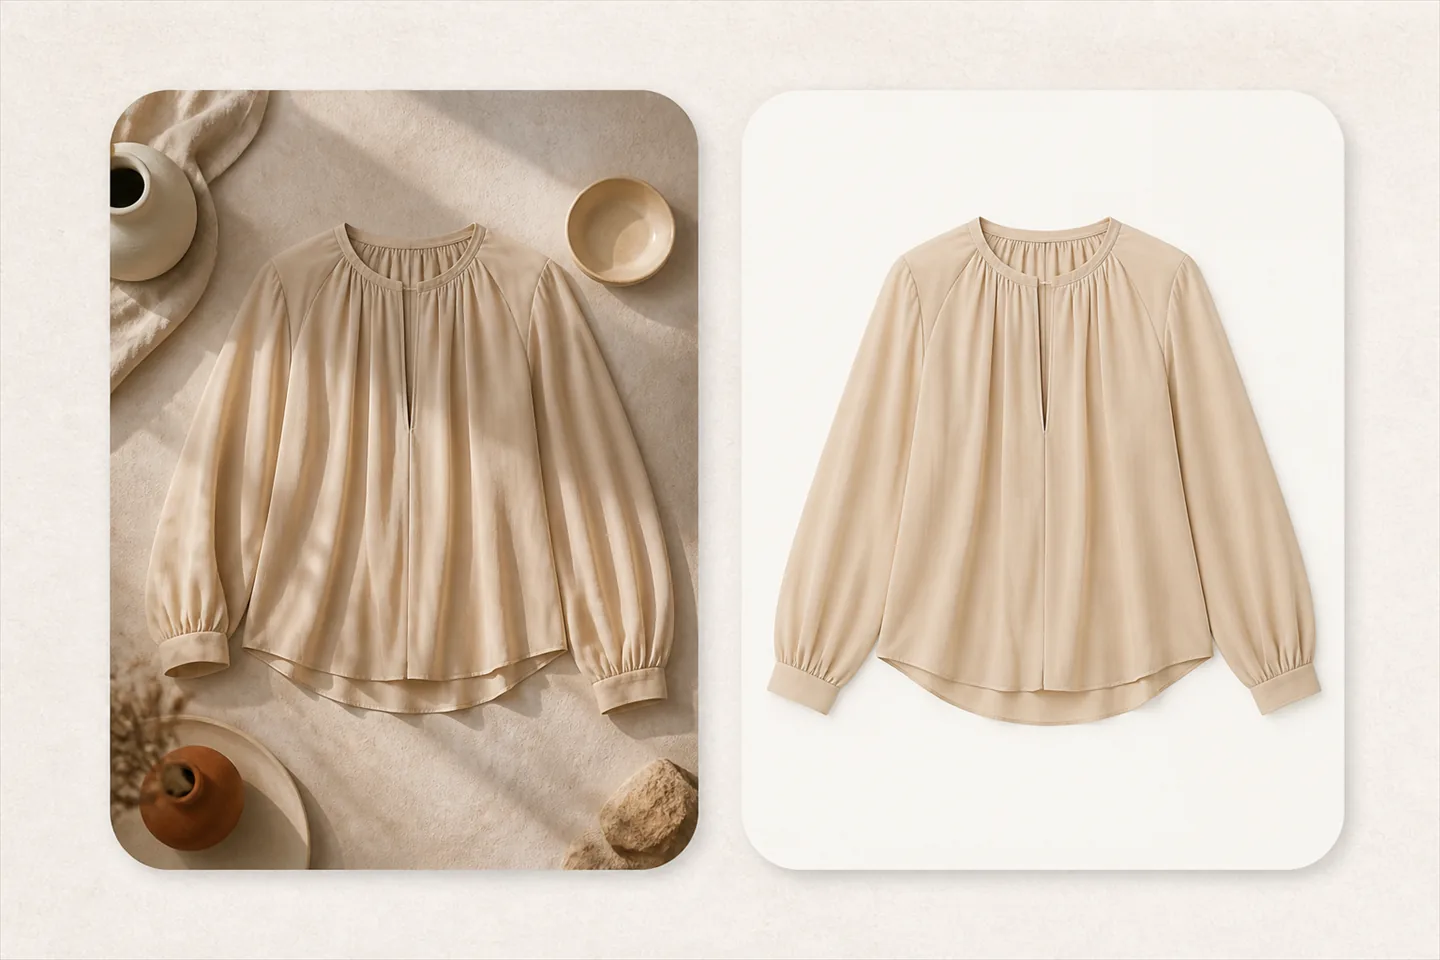
You do not need a white cyclorama. You need a plain, low-contrast surface, the garment as the only subject, and no shadow falling across it hard enough to read as part of the fabric.
Soft light beats good light
Harsh directional light produces exactly the two things that confuse a generation: blown highlights where texture should be, and deep shadows that read as folds, seams or panels that do not exist.
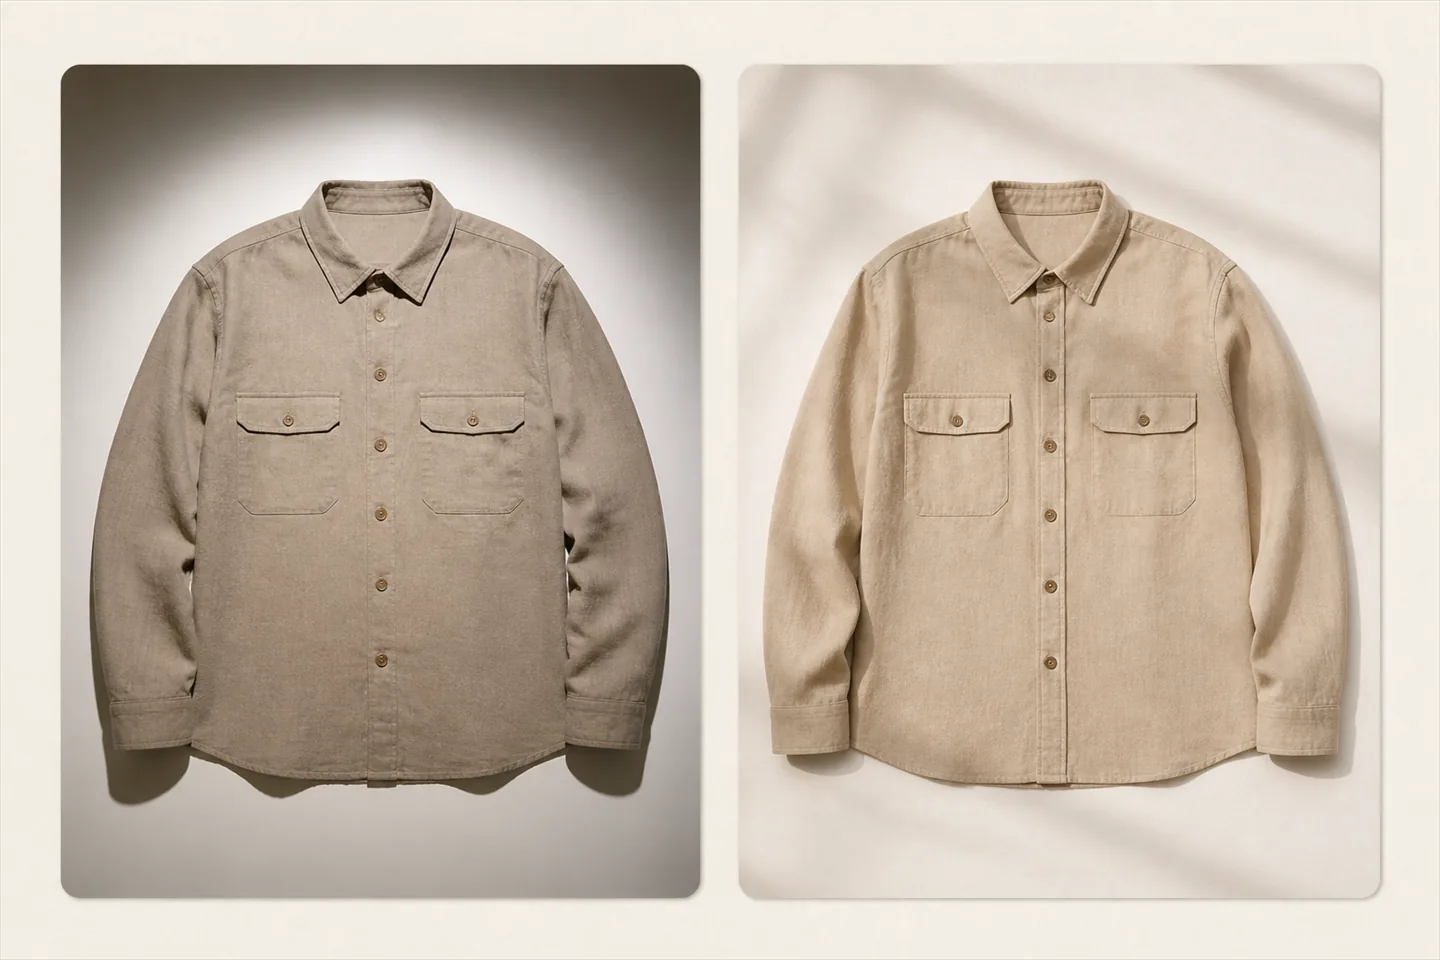
A window on an overcast day, or any large diffuse source, will beat a well-intentioned lighting setup for this purpose. The test is simple: can you see the weave in the shadows, and can you see the weave in the highlights? If yes, the photo is good enough.
Which of your existing photos to use
Most stores do not need to shoot anything. They need to stop using their hero image and reach for the second or third one, which is usually the plain product shot the hero was styled away from.
| Source type | Strength | Watch for |
|---|---|---|
| Flat lay | Complete silhouette, even light, no distractions | Sleeves folded under; wrinkles read as construction |
| Ghost mannequin | Shows volume and how the piece sits | Retouched hollows can confuse the fit |
| On a hanger | Honest drape, quick to shoot | Shoulders distorted; hanger crossing the neckline |
| On a person | Most information of all | Pose hiding a side; strong background |
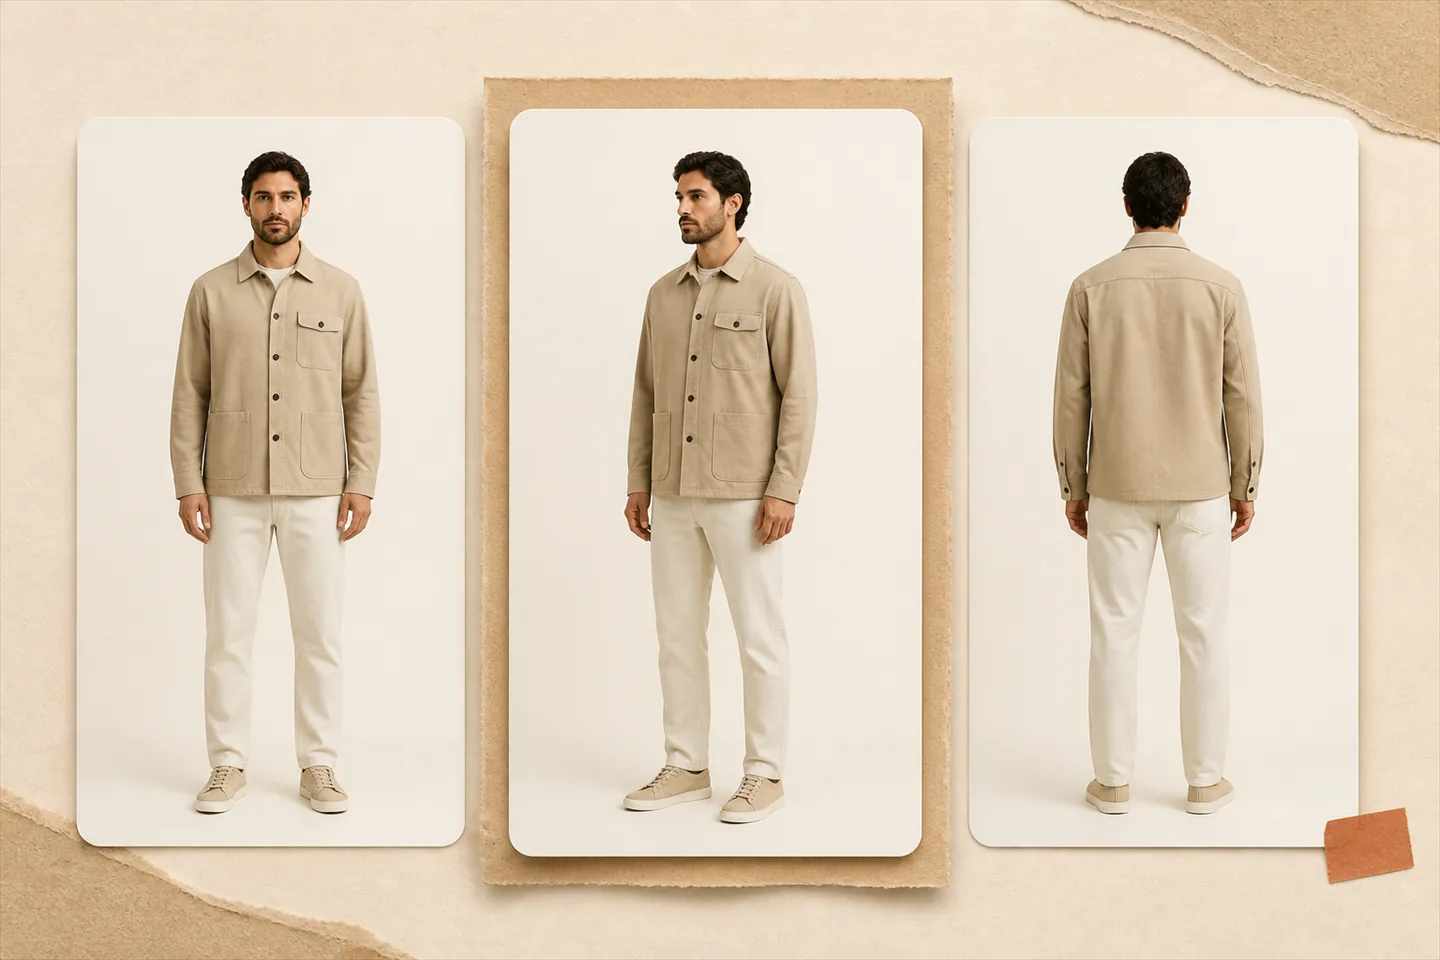
If you have a choice of angle, front-on and square to the camera is worth more than a flattering three-quarter view. The three-quarter shot looks better on the product page and tells the model less about the half of the garment turned away.
Colour is the thing to check twice
Colour is worth its own paragraph because it is the one error that survives all the way to a return. If your source photo is warm by a stop, the model wearing it is warm by a stop, the shopper orders what they saw, and what arrives is a different olive from the one on their screen.
The check costs nothing: put the source photo next to the garment, in daylight, and look. If they do not match, fix the photo before you generate anything, because nothing downstream will fix it for you. It is the same information problem behind most apparel returns, which we went through here.
Resolution, briefly. Bigger is better but the returns flatten fast. Something in the region of 1500 px on the long edge is comfortable for a full garment. Below roughly 800 px, fine detail such as knit texture, topstitching and small prints starts to be reconstructed rather than reproduced.
Sixty seconds before you generate
Run this over the photo you are about to upload:
- Is the entire garment visible, with nothing cropped, folded under or covered?
- Can you trace the full outline against the background without losing it?
- Is the light even enough to see texture in both the shadows and the highlights?
- Is the garment the only thing in the frame worth looking at?
- Does the colour match the physical item?
- Are the details that define this product — the collar, the closure, the print scale — legible at full size?
Six yeses and you can stop thinking about the photo. One no, and it is nearly always faster to find another image than to regenerate three times hoping for a different answer.
Then check the output on the same terms
Review the result against the source rather than against your taste. Open both at full size and compare the specific things a model has to reconstruct: collar shape, button count and spacing, pocket placement, seam lines, the scale of a print across the body, hardware.
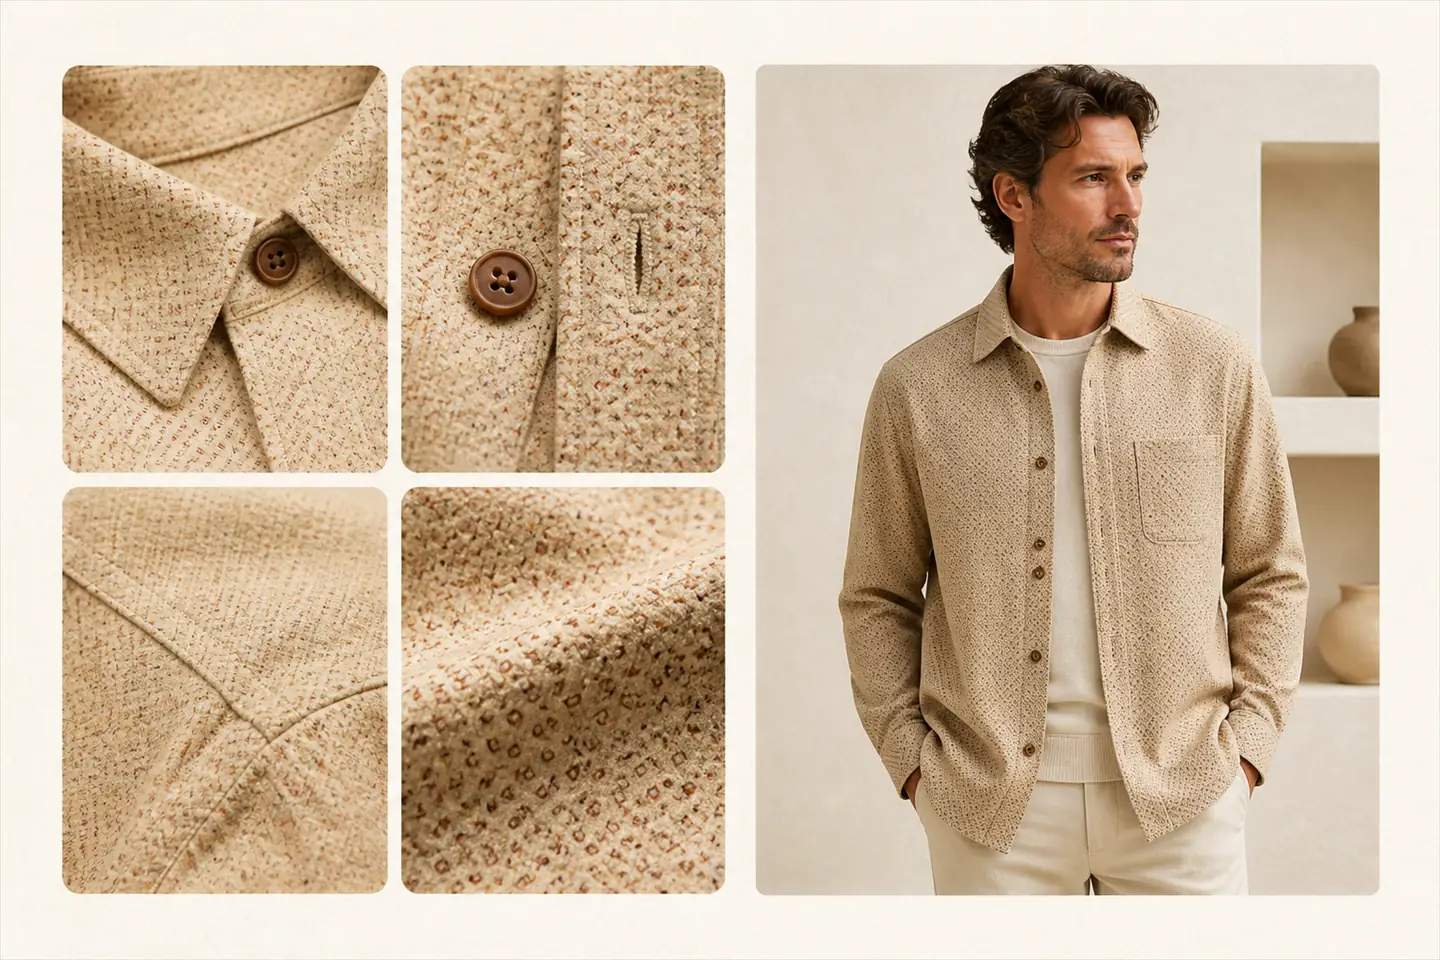
This is also the argument for generating a still before a video, which costs a third as much in Videlia and fails in the same ways. If the still has the wrong collar, the video will have the wrong collar for five seconds. We made that case at more length in which products deserve video first.
What this does not fix
A good source photo raises your hit rate substantially. It does not make every generation publishable, and some categories remain genuinely hard: heavy sequins and other reflective surfaces, sheer layers where opacity is the whole point, and very fine repeating prints. On those, expect to generate more than once and to reject more than you keep.
That is a normal cost of the workflow rather than a sign it is broken. It is also the reason to look at every output before it goes on a product page, which you would do with a photographer's contact sheet too.
Disclosure. Videlia generates AI model images and videos from Shopify product photos, so we benefit if you try this. The guidance above is about generative image models in general rather than ours specifically, and it applies whichever tool you use. The one product-specific claim is the credit pricing: a try-on still costs 1 credit against 3 for a five-second video, which is why we suggest testing on stills first.
Pick your cleanest product shot and see it worn.
Ten free credits a month is ten try-on stills, or three finished videos. Enough to find out which of your photos work.