
How to choose an AI model video app for Shopify
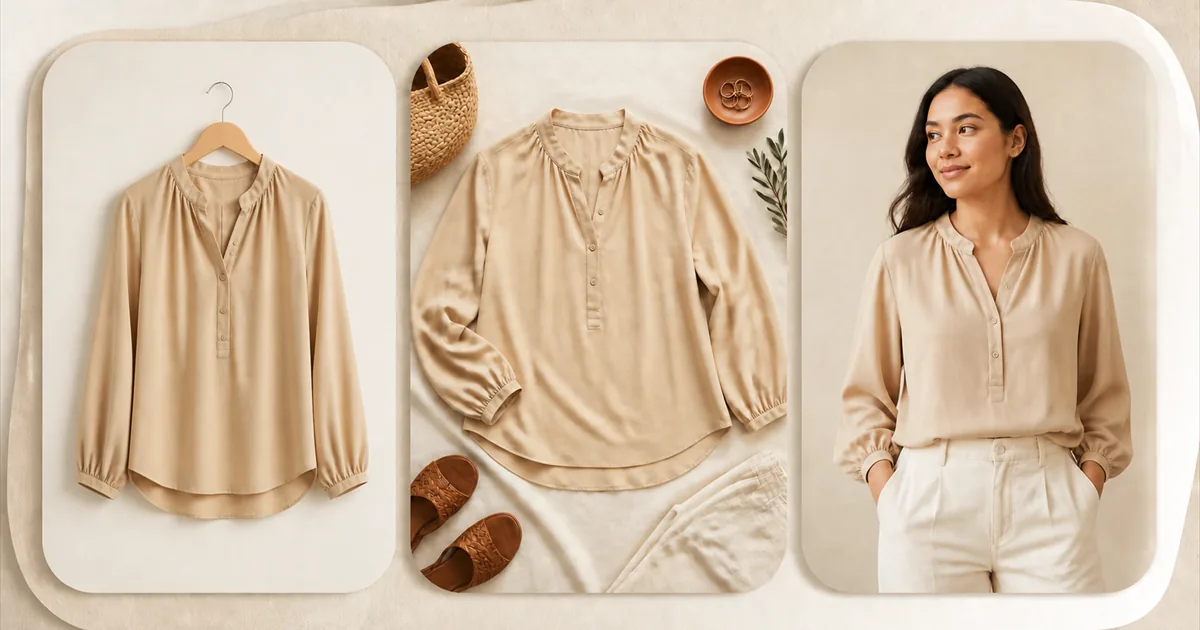
This category is about three years old and already has enough entrants that the listings blur together. They make broadly the same promise: give us a product photo, get back a model wearing it. The promise is not the differentiator. What separates them is where they fail, and none of the listings tell you that.
Here is what actually varies, and how to test each one before you commit a catalogue to it.
What kind of tool is it, really?
Before comparing features, work out which of three things you are looking at. They get marketed identically and behave nothing alike.
- Photo-only try-on. Generates on-model stills from product photos. Cheapest per output, no motion. Good if your gap is imagery, not video.
- Video generators with a still step. Produce a still first, then animate it. The still doubles as a cheap checkpoint, which changes the economics of getting a result you can publish.
- Direct-to-video generators. Photo in, clip out, no intermediate stage. Fewer steps, but every rejected result costs a full video's worth of credits.
The third kind looks the most convenient and is usually the most expensive to actually use, for reasons covered under reliability below.
How does it publish?
This is the question most buyers skip and most regret. Generating the video is half the job; getting it onto the product page is the other half, and the approaches differ sharply.
- Theme app block. The modern Shopify approach. You add a block in the theme editor once, it renders inside your existing product template, and it leaves nothing behind when you uninstall. Requires an Online Store 2.0 theme, which covers everything in the current theme store.
- Liquid injection. Older apps write snippets directly into your theme files. Uninstall one and the snippet frequently stays, quietly throwing errors or slowing the page. Ask explicitly whether an app does this.
- Download only. No publishing at all. Fine if you were going to hand files to a designer anyway; a hidden recurring cost if you were not.
If you are evaluating on this axis specifically, our own approach is documented on the Shopify product page videos page, including what happens on uninstall.
What does one usable output cost?
Not what one generation costs. Those are different numbers, and the gap between them is the whole story.
Every tool in this category fails on some percentage of generations, and most price per attempt rather than per success. A tool at half the headline price that needs four attempts to produce something publishable is more expensive than one at full price that needs one. Published reviews across this category repeatedly describe merchants burning five to ten generations to get a single usable result.
So the number to work out is cost per output you would actually publish. You can only get it by generating on your own products, which is why a free tier that produces real output matters more than a discount.
Do the arithmetic on your own catalogue. Take the per-generation price, multiply by the number of attempts you actually needed during a trial, and compare that against what a photographer quotes per SKU. Both numbers are specific to you, and neither appears on any pricing page.
Where does it break?
Reliability is the axis with the widest spread between tools and the least coverage in their marketing. Some categories are hard for every model in this space:
- Reflective and sequinned fabrics. Highlights blow out or crawl between frames.
- Sheer and layered garments. Opacity is the entire product and the hardest thing to preserve.
- Fine repeating prints. Motif scale drifts across seams; small patterns get reconstructed rather than reproduced.
- Structured tailoring. Lapels, darts, vents and closures are where a wrong guess is most obvious.
- Very dark or very pale garments. Edge separation against the background collapses and detail goes with it.
Test with your hardest product, not your easiest. A plain cotton tee will look fine from anything in this category and tells you nothing. If most of your catalogue is satin or lace, that is what the trial needs to be about.
Much of what looks like tool failure is actually source-photo failure, and it is worth ruling that out before blaming the tool. We wrote up the checks in what makes a good source photo.
Who can it show wearing your clothes?
Two sub-questions that get conflated.
Range. Whether the model can resemble the person buying. Body types across a real range, more than one gender, more than one ethnicity. Worth checking against your actual customer base rather than in the abstract.
Consistency. Whether you get the same model back next time. Tools that generate a model from a text prompt produce a different person on every run, which makes a coherent catalogue impossible and means every re-roll costs credits. Tools that use a fixed gallery trade some flexibility for repeatability. Neither is universally right, but the difference matters enormously if you are doing more than a handful of products.
What are you allowed to do with the output?
Check four things in the terms before you build a workflow on any of these:
- Commercial use. Whether you can use the output in paid ads, not just on your own storefront.
- What happens on cancellation. Whether previously generated assets stay usable after you stop paying.
- Watermarks and resolution by tier. Free tiers often watermark, which is reasonable. What matters is knowing the resolution ceiling on the tier you would actually buy, not the one at the top of the page.
- How it handles labelling. Since 2 August 2026, content showing realistic AI-generated people has to be labelled for EU audiences. Check whether the tool labels what it publishes or leaves that to you, and see what the EU labelling rule asks of a clothing brand.
On that last point, be sceptical of resolution as a headline. A 4K render of a garment whose collar is wrong is not better than a 1080p render of one that is right. Resolution is easy to advertise and rarely the thing that decides whether a clip is publishable.
A comparison you can actually run
Shortlist two or three tools, then:
- Pick five products, weighted toward the hard categories above rather than your easiest items.
- Use the same source photo for each tool. Different inputs make the comparison meaningless.
- Generate until you have something you would publish, and record how many attempts it took. That count is the real finding.
- Compare the outputs against the physical garment, not against each other: collar, button count and spacing, hem position, print scale, hardware.
- Then, and only then, look at the pricing pages.
Two afternoons of this will tell you more than any comparison article, including this one.
We keep the named, dated version of this comparison on a separate page, with every rating linked to the listing it came from: AI model video apps for Shopify, compared.
What we would concede
Since we make one of these tools, here is where we lose. Videlia caps at 1080p; if you need 4K masters, buy something else. We are wearables-only, so furniture and homeware stores are not our market. And we use a fixed model gallery, so if you want to describe an arbitrary person in a prompt, we do not do that — deliberately, for the consistency reasons above, but it is a real constraint and not everyone will want the trade.
Where we would argue we win: the still-then-video structure means a bad result costs 1 credit to discover instead of 3, publishing goes through a theme app block that leaves nothing behind, and the free tier produces real output on your own products rather than a demo on ours.
Disclosure. Videlia makes AI model videos and try-on stills from Shopify product photos, so we have an obvious interest in how you weigh these criteria. That is why this guide names no competitor and quotes no competitor's pricing: those figures drift, the ones circulating in comparison articles are frequently wrong, and we would rather give you the test than our scoring of it. Every claim about our own product here is checkable on our pricing page. Run the five-product comparison and trust your own numbers over anyone's article.
Start with your hardest product, not your easiest.
Ten free credits a month is ten try-on stills. Enough to find out how many attempts your worst-case garment actually takes.