
How to photograph clothing for an online store
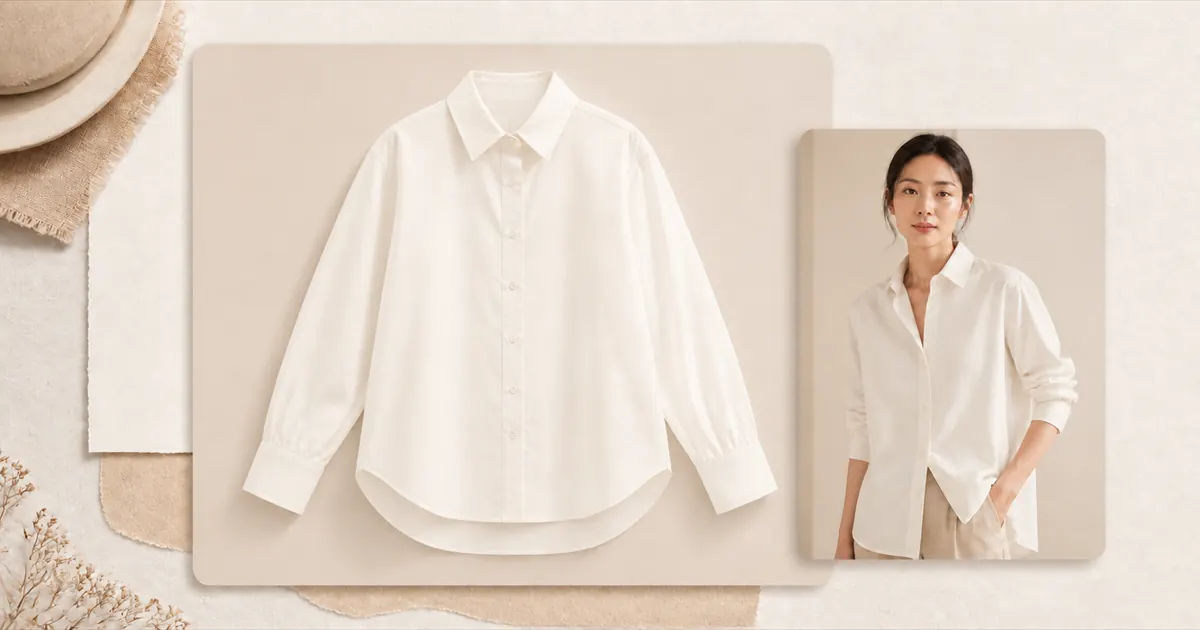
To photograph clothing for an online store, steam the garment, put it against a plain background, light it with one large soft source from the side, lock the camera on a tripod, and shoot the same set of angles for every product. Consistency across the catalogue matters more than the camera you use.
This guide covers the kit, the setup, the camera settings, a shot list for each product, how to handle dark, white and patterned garments, and one export that works on your Shopify store, in Google Shopping, on Amazon and in vertical video. The platform specifications below were read from each platform's own documentation on 12 November 2026.
What do you need to photograph clothing?
A camera or a recent phone, a tripod, a plain background, one large soft light source, a steamer and something to hold the garment's shape: a flat surface, a mannequin or a person. That is the whole kit. Everything else, from a second light to a colour checker, improves consistency rather than making the photos possible.
- Camera. Any camera with manual exposure, or a phone whose camera app lets you lock focus and exposure. Use a standard or short telephoto lens, roughly 50mm to 85mm in full-frame terms. A phone's main wide lens bends straight hems and makes sleeves near the edge of the frame look longer, so use its 2x lens if it has one.
- Tripod. The single most useful item. It keeps every product the same size and in the same place in the frame, which is what makes a collection page look like one shop. For flat lays you need an overhead arm, or a step ladder and a steady hand.
- Background. A roll of white or light grey seamless paper, or a large board for flat lays. A plain wall works if nothing hangs on it.
- Light. A large north-facing window, or one softbox or a lamp through a diffusion panel. Big and soft is the requirement; bright is not.
- Steamer, lint roller, pins and clips. Clips at the back of a mannequin or a person take up slack so the garment fits as it would on its intended size.
- A grey card, for setting white balance. It is cheap and it fixes the problem that drives more complaints than any other: the colour on screen not matching the parcel.
How do you set up the shot?
Put the background behind the garment, the light at about 45 degrees to one side, and a white board or reflector on the other side to lift the shadows. Fix the camera on the tripod square to the garment, at its chest height for a mannequin or a person, or directly overhead for a flat lay. Then mark everything with tape.
The tape is the part people skip. Mark where the tripod legs stand, where the mannequin stands and where the light sits, and photograph the setup itself before you pack it away. Next month's new arrivals then come out the same size, at the same angle, in the same light as this month's, and a shopper scrolling a collection sees products rather than a history of how your setup drifted.
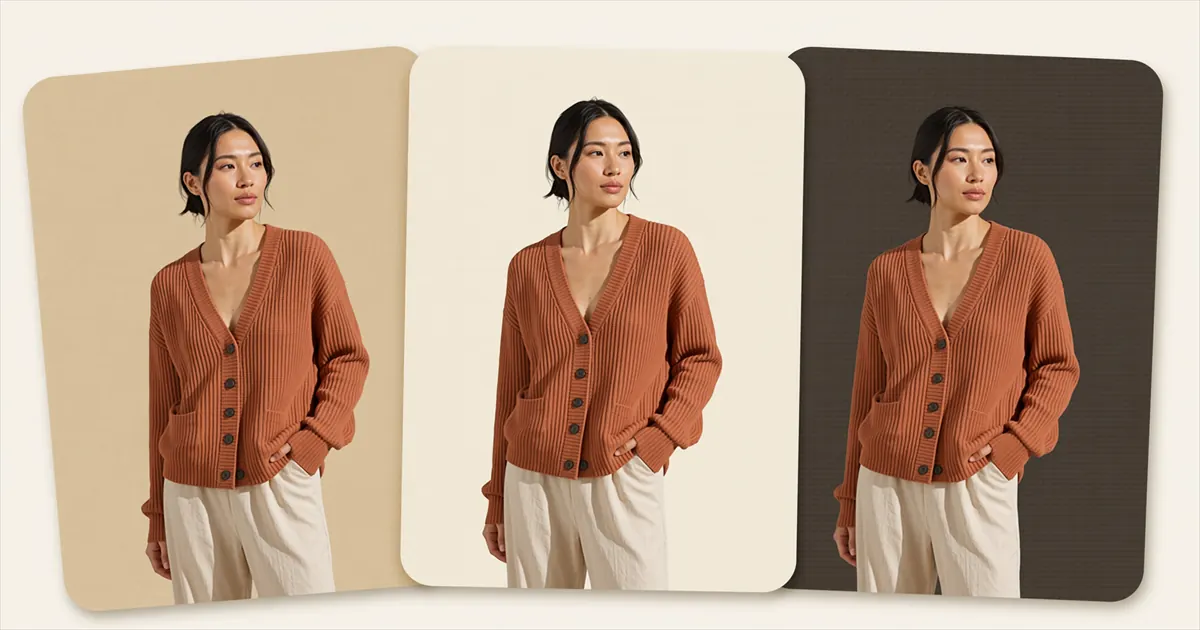
Turn off the room's overhead lights. Mixed light sources each have their own colour, and a warm ceiling bulb on one side of a garment and cool daylight on the other gives you a colour cast that no single white balance setting can remove.
What camera settings work for clothing photos?
Use a mid aperture, the lowest ISO your light allows and a white balance set from a grey card, and let the tripod take care of the slow shutter speed that results. Shoot in RAW if your camera or phone offers it, so colour can be corrected afterwards without losing quality.
| Setting | Starting point | Why |
|---|---|---|
| Aperture | f/8 to f/11 | Keeps the whole garment sharp, front to back, including sleeves that sit nearer or further from the lens |
| ISO | 100 to 200 | The lowest noise, so fabric texture stays clean |
| Shutter speed | Whatever gives a correct exposure | On a tripod, a slow shutter is fine for a still garment. For a person, keep it at 1/125s or faster |
| White balance | Custom, from a grey card | Auto white balance shifts between shots, so the same colour drifts across a collection |
| Format | RAW, or RAW plus JPEG | Room to correct colour and exposure without degrading the file |
| Focus | Manual, or locked on the chest | Stops the camera hunting between the garment and the background |
These are starting points, not rules. If the shot is underexposed at f/11 and ISO 200, the answer is more light or a longer exposure on the tripod, not a higher ISO. On a phone, tap to focus on the garment, lock it, and drag exposure down slightly: phones tend to brighten pale fabrics until the texture disappears.
Which shots does every product need?
Every clothing product needs a front, a back and a close-up of the fabric, at minimum. Add a side or three-quarter view for anything with shape, a close-up of closures and hardware where they exist, and at least one image on a body, because only a body shows how the garment fits. Shoot the same list, in the same order, for every product.
| Shot | What it answers | Needed for |
|---|---|---|
| Front, whole garment | What is it, what colour, what shape | Every product. This is the collection-page thumbnail |
| Back, whole garment | Back neckline, yoke, pockets, vents | Every product |
| Side or three-quarter | Depth, drape, how far it stands off the body | Outerwear, tailoring, dresses, anything structured |
| Fabric close-up | Texture, weave, knit, sheen | Every product. Shoppers cannot touch it, so this stands in for touch |
| Detail close-up | Buttons, zips, stitching, print placement | Anything with hardware or a distinctive finish |
| On a body | Fit, length and proportion | Every product where fit decides the sale, which is most clothing |
| On a body, moving | How the fabric falls and swings | Fluid fabrics, pleats, wide trousers, dresses |
The first image decides the collection page, so pick one style for it per category and keep it everywhere: flat lay for every tee, say, and on a model for every dress. Which of flat lay and ghost mannequin suits which garment, and what a studio charges for each, is covered in ghost mannequin vs flat lay. The order the rest of the images appear in on the product page is a merchandising choice in its own right, and the lookbook guide shows one sequence that works.
How do you photograph dark, white and patterned clothing?
Dark clothing needs more light and a slightly lighter background so its edges separate. White clothing needs a background a step darker than the garment and a light from the side that draws its outline in shadow. Patterned clothing needs the camera square to the fabric, so the print is not distorted, and a close-up at true scale.
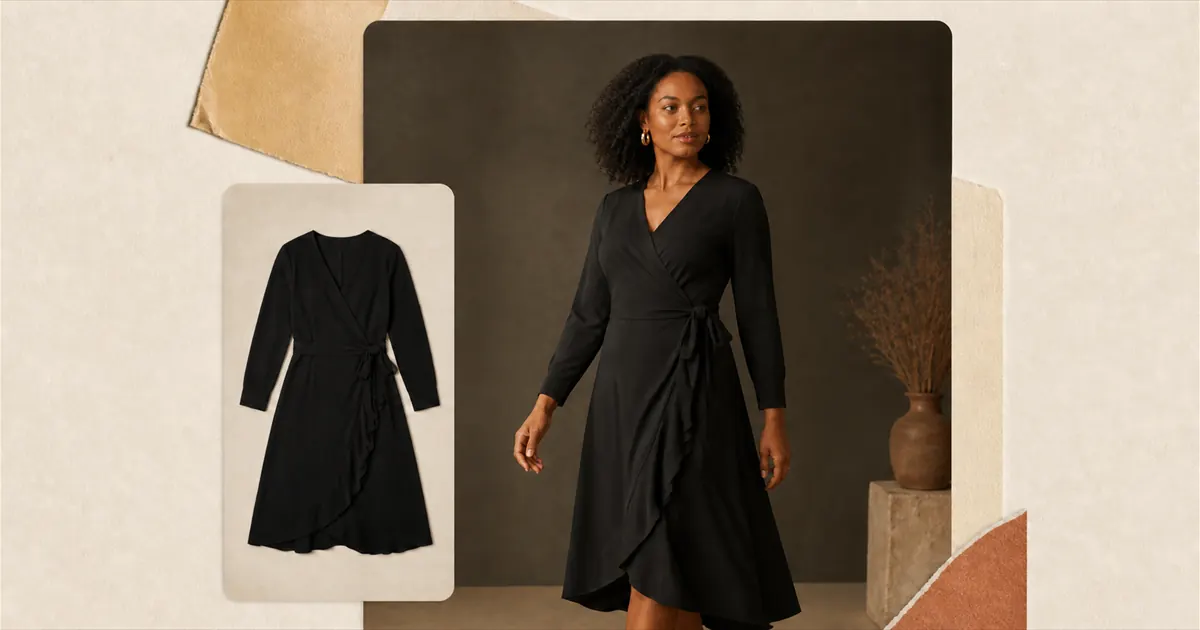
- Black and navy. Expose for the garment, not the scene. A camera metering a black dress will brighten it to grey, so dial exposure compensation down a little and check that the folds still show. Bring the light round to skim across the fabric, which turns texture into visible highlights.
- White and ivory. On pure white paper a white shirt disappears into the background. Use light grey or warm cream behind it, or keep white paper and move the light further to the side so the garment casts a soft edge. Watch the histogram: a white garment that clips to pure white has lost its weave.
- Prints and stripes. Any tilt between camera and fabric turns stripes into converging lines and squares into trapezoids. Level the camera, and include one close-up with something of known size in it, or simply a full-width crop of a sleeve, so the shopper can judge the print's scale.
- Sheen and sequins. Shiny fabric reflects the light source itself. A larger, more diffuse source turns hard hot spots into soft gradients; moving it further to the side takes the reflection out of the camera's line.
How do you keep the colour accurate?
Set white balance from a grey card in the same light as the garment, photograph the card once at the start of every session, and check the finished image against the real garment in daylight on a calibrated screen. Correct colour in editing, not by eye on a phone screen, and never push it more saturated than the fabric is.
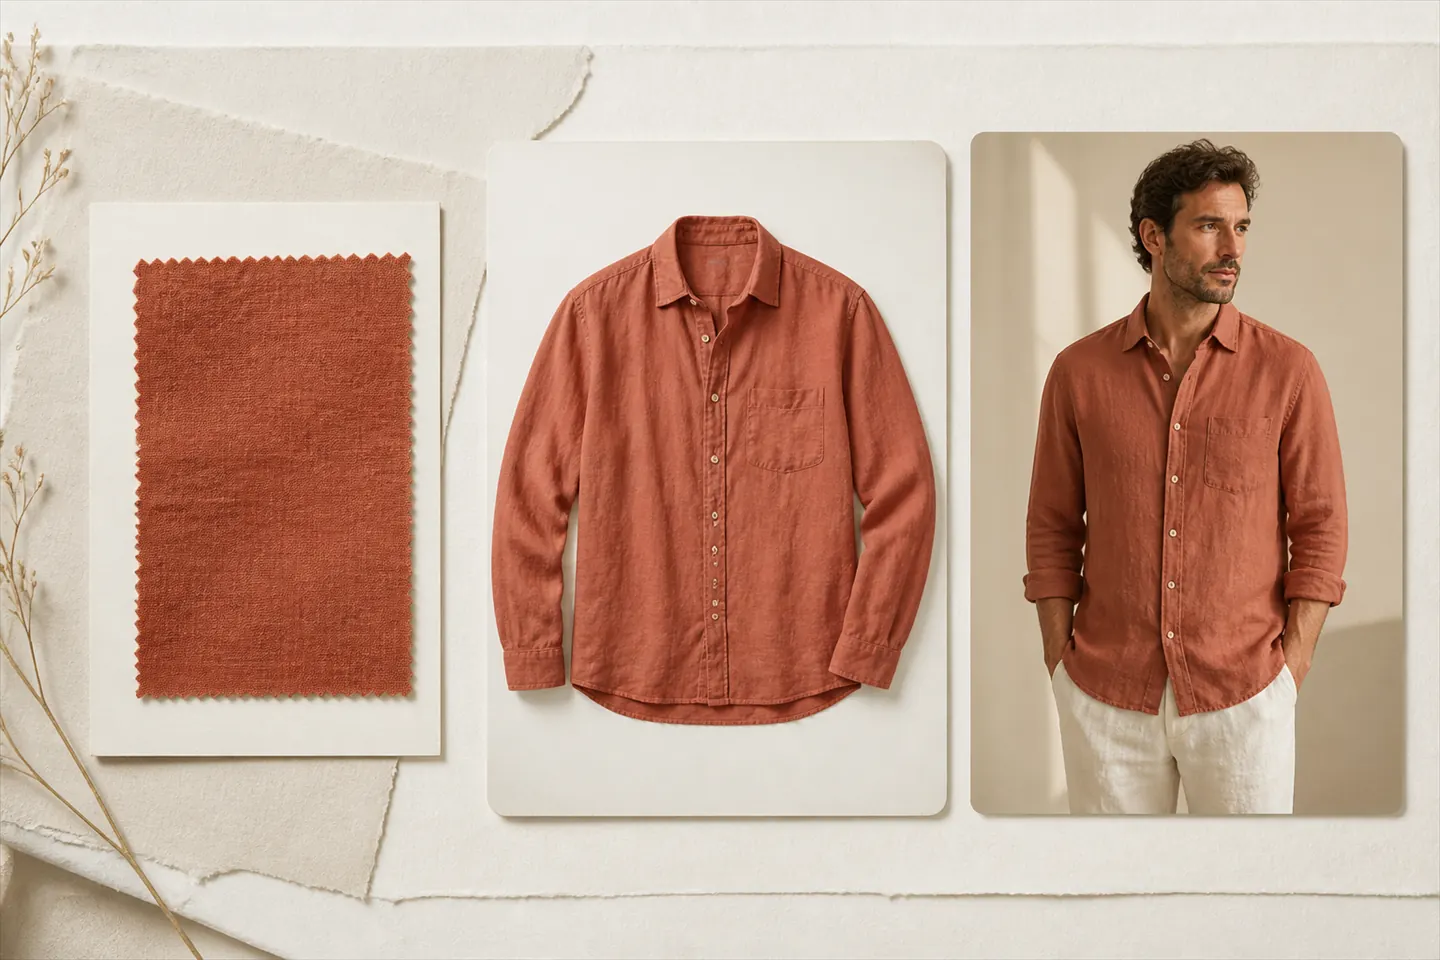
Colour is the one thing a shopper can check the moment the parcel opens, and a mismatch reads as a different product. That is why it sits among the return reasons covered in what video does and does not fix about returns. Earthy and saturated colours drift most: rust, olive, burgundy and teal all shift under a warm or cool cast in a way that a neutral grey does not. Keep a fabric swatch from each colourway on set and hold it up beside the screen when you check.
What image sizes do Shopify, Google Shopping and Amazon need?
Export the main images square at 2048 by 2048 pixels. Shopify says that size usually displays best for square product images, and it clears Google Merchant Center's recommended 1500 by 1500 pixels with room to spare. Keep the master files larger, because Amazon and vertical video each need their own crop.
| Where it goes | What the platform asks for | What that means for the shoot |
|---|---|---|
| Your Shopify store | Up to 5000 x 5000 px or 25 megapixels, under 20 MB. 2048 x 2048 px usually displays best for square images | One aspect ratio across the catalogue, so collection grids line up |
| Google Shopping | At least 500 x 500 px for all products from 31 January 2027; 1500 x 1500 px or above recommended. No watermarks, promotional text, overlays or borders | Keep sale badges and logos off the image file itself; add them in the theme instead |
| Amazon, adult clothing | Main image on a standing model, with no visible mannequin or hanger. Flat lays for clothing accessories, multipacks and children's form-fitting items | Your flat lays and ghost mannequins work as secondary images there, not as the main one |
| Vertical video and social | 9:16 portrait framing | Leave room above the head and below the hem, so a tall crop does not cut the garment |
The practical rule that falls out of this table: shoot wider than you think you need. A garment framed tightly for a square crop cannot be recropped to 9:16 without losing its hem or its collar, but one with space around it can be cropped to any of the four. If you plan to turn product photos into model shots or video later, the same space helps there too, because the tool needs the whole garment, edge to edge.
How do you get on-model shots without hiring a model?
There are three ways: a friend or member of staff who fits the sample size, a freelance model booked by the hour, or an AI model tool that puts the garment from your flat lay or mannequin shot onto a generated person. The first two need a release; the third needs a clean source photo and a check against the real garment.
The photography in the earlier sections is exactly what an AI model tool needs as input. A plain background, soft light, the whole garment in frame and accurate colour are what separate a usable result from an unusable one, and what makes a good source photo has the full checklist. In Videlia, a try-on still on a model costs 1 credit and a five-second video 3, and the free plan's 10 credits a month cover ten stills or three videos. Check every result against the garment on your table before publishing it, particularly the colour and anything with a pattern.
An AI model is a real option for fit and proportion on the product page. It does not replace a shoot for a campaign, for a product sold mainly on texture close-ups, or for an Amazon listing that wants a real photo. Where it fits and where it does not, and the EU labelling rule that applies to generated people, are covered in how to use AI models for your clothing brand.
A checklist before you shoot
- Garment steamed, lint-rolled, tags tucked away or removed, and pinned or clipped to fit.
- Overhead lights off, one large soft light at 45 degrees, reflector opposite.
- Tripod and subject on their tape marks; camera square to the garment.
- Grey card photographed in the session's light, white balance set from it.
- The same shot list, in the same order, for every product.
- Room left around the garment for a 9:16 crop.
- The first frame checked at full size on a proper screen before the rest are shot.
Disclosure. Videlia turns product photos into AI model stills and video, so we benefit when you photograph your products well and then put them on a model. We have tried to write a guide that is useful whether or not you ever do. Shopify's and Google's image specifications were read from their help pages on 12 November 2026, and Amazon's from its Seller Central guide on 30 October 2026; none of them was involved in this article. Camera settings are starting points from common studio practice, not measured results. Credit costs are checked against the Videlia app. Every image in this article is AI-generated.
About clothing photography.
Can you photograph clothes for an online store with a phone?
Yes. A recent phone on a tripod, in good soft light, produces product photos good enough for most stores. Use the 2x lens rather than the main wide one to avoid distortion, lock focus and exposure on the garment, and turn off any beauty or scene enhancement so the colour stays true.
What is the best background colour for clothing photos?
White or light grey for most garments, because it keeps the focus on the product and suits marketplaces. Use light grey or cream behind white clothing so its edges show, and a pale background behind black clothing for the same reason. Whatever you choose, use the same one across a whole category.
How many photos should each clothing product have?
At least four: front, back, a fabric close-up and one image on a body. Structured garments benefit from a side view and garments with hardware from a detail shot, which usually takes the set to six or seven. Fewer, consistent photos beat many photos in mixed styles.
How much should you edit clothing photos?
Enough to remove what is not the product: lint, stray threads, dust on the background, a visible clip. Correct exposure and white balance. Do not reshape the garment, smooth away its texture or push its colour, because a shopper compares the photo with the parcel and any difference reads as misrepresentation.
Should you photograph clothing on a model or a mannequin?
On a model wherever fit and drape decide the sale, which covers most dresses, trousers and tailoring. A mannequin or flat lay is cheaper and shows colour and print more clearly, so many stores use it for the first image and add on-model shots further down the page, real or AI-generated.
Put this week's photos on a model.
Ten free credits a month is ten try-on stills, or three finished videos, from the product photos you just took.